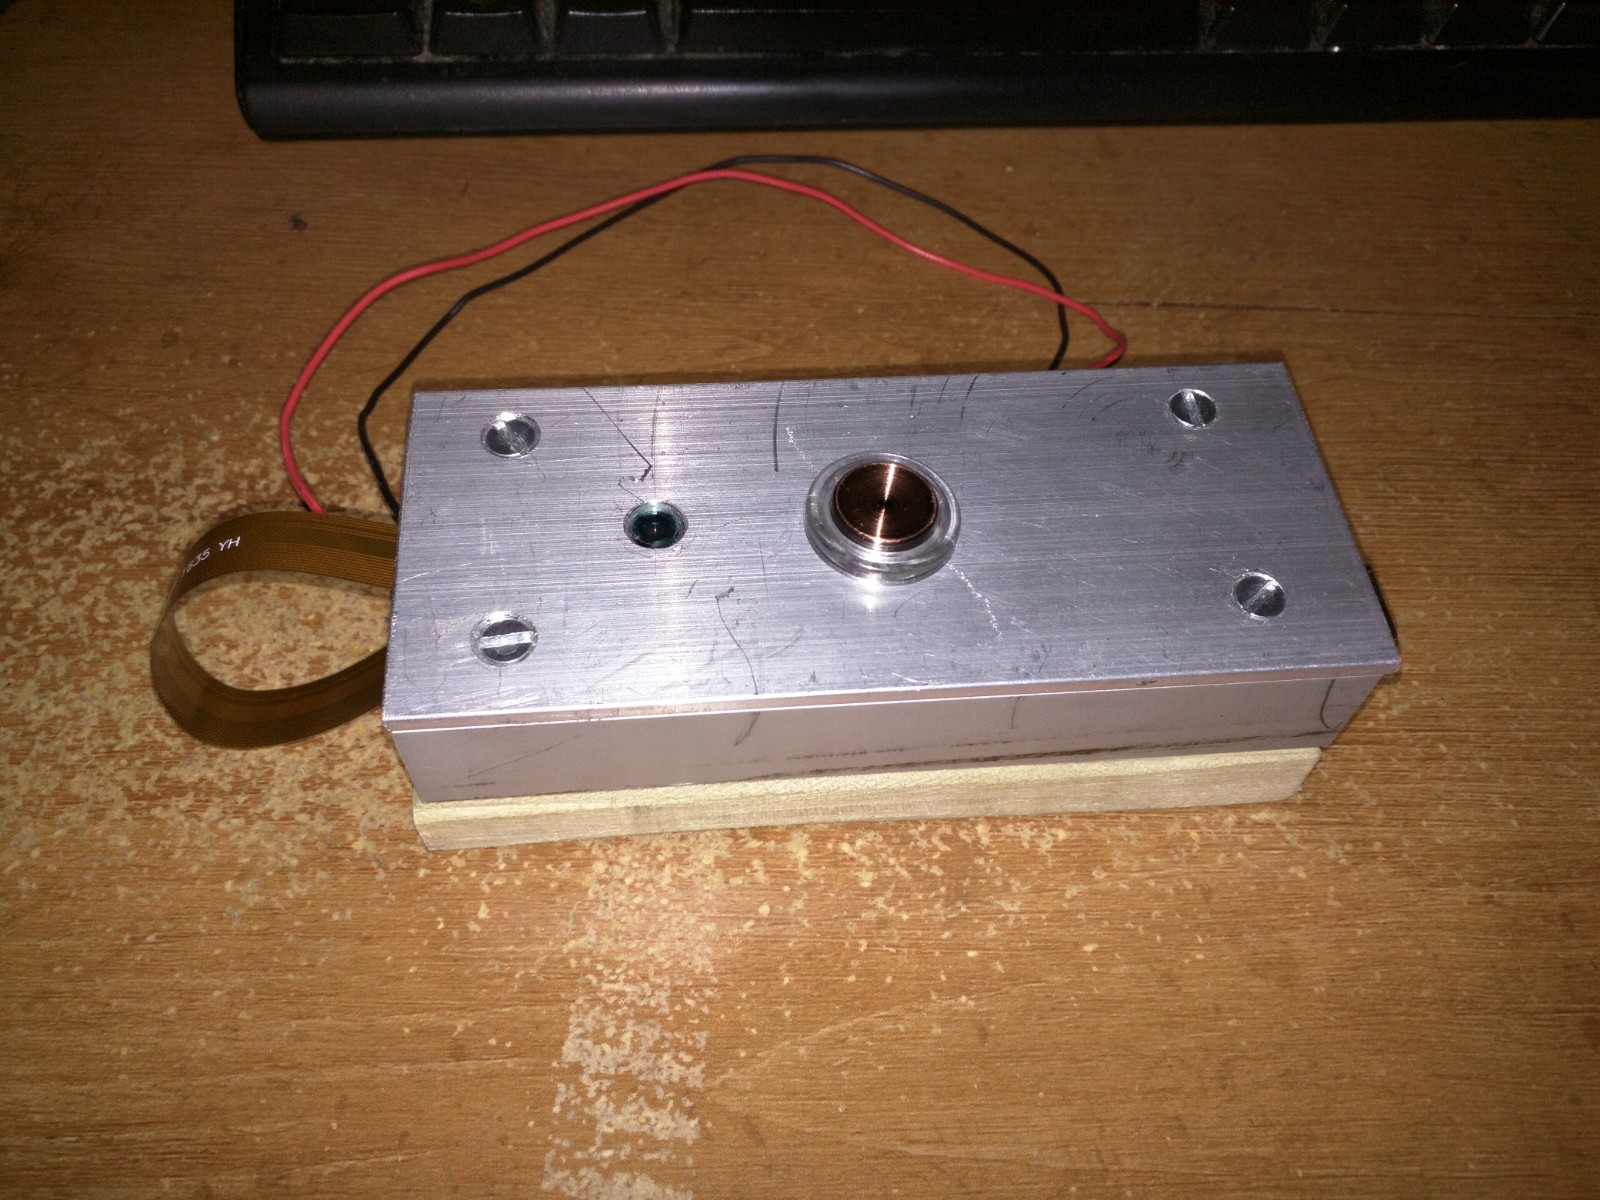
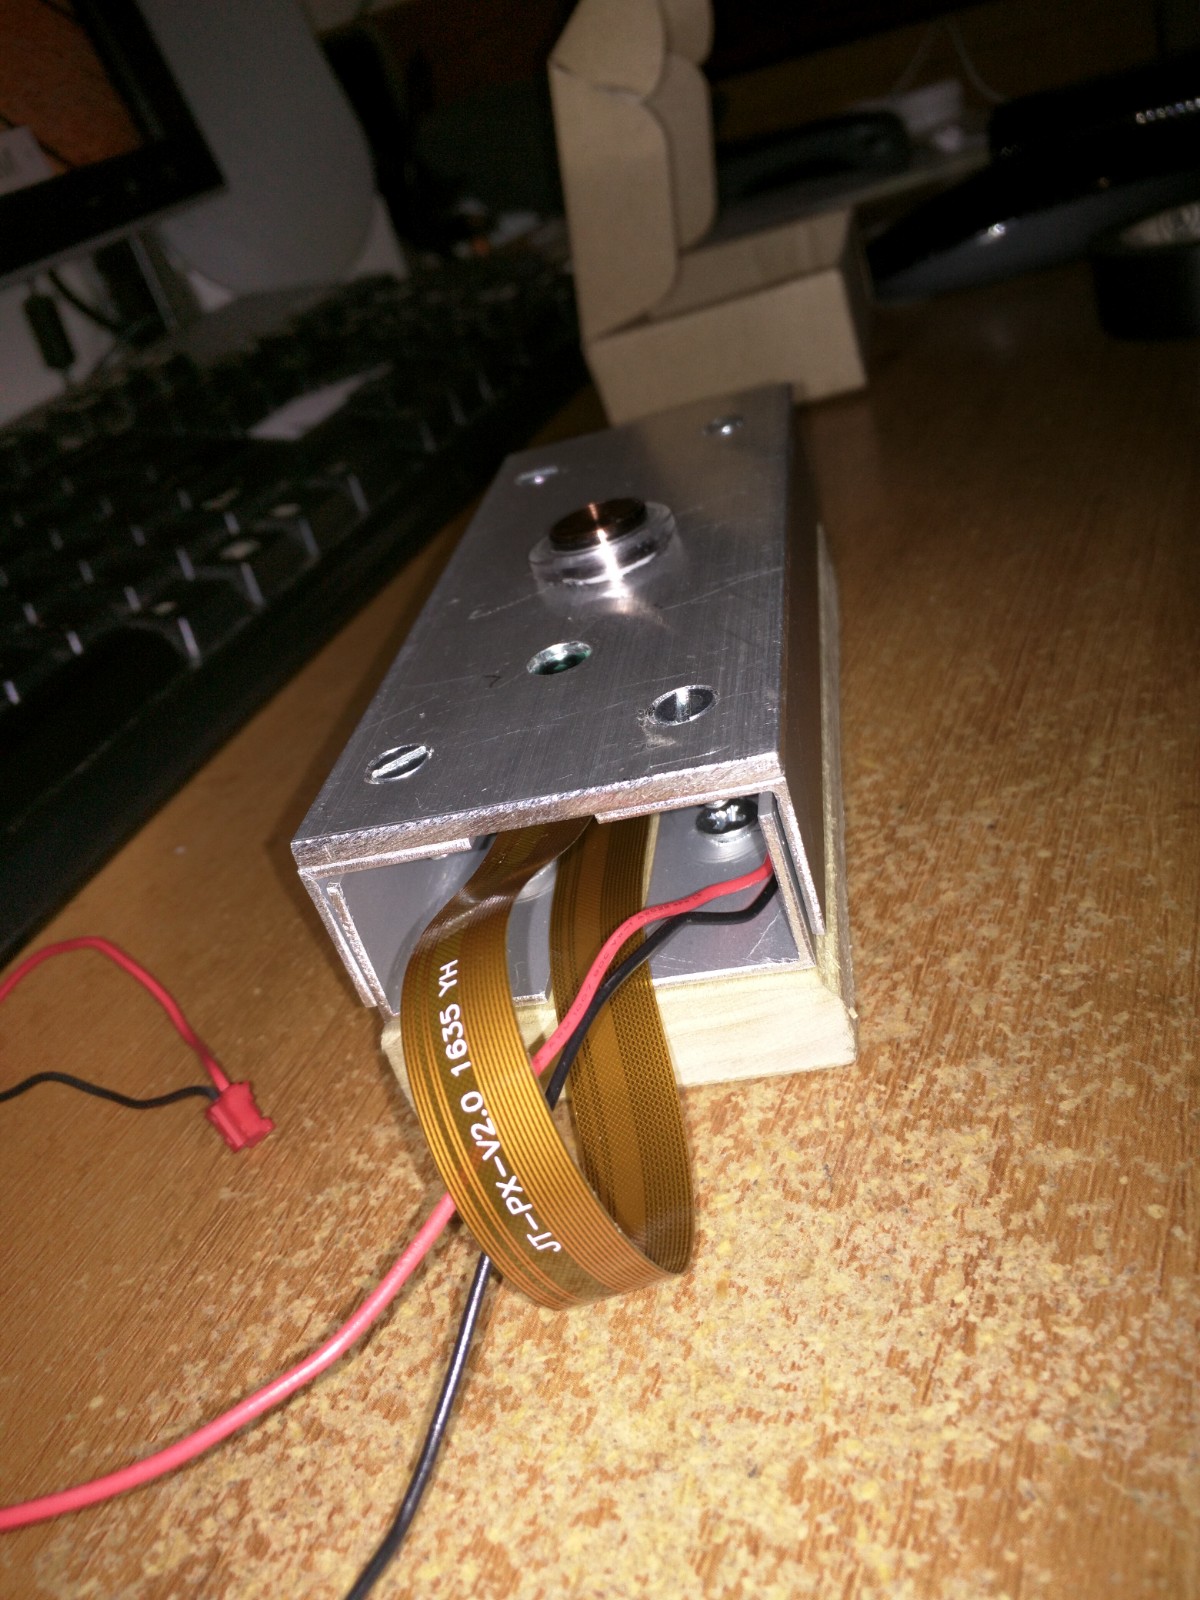
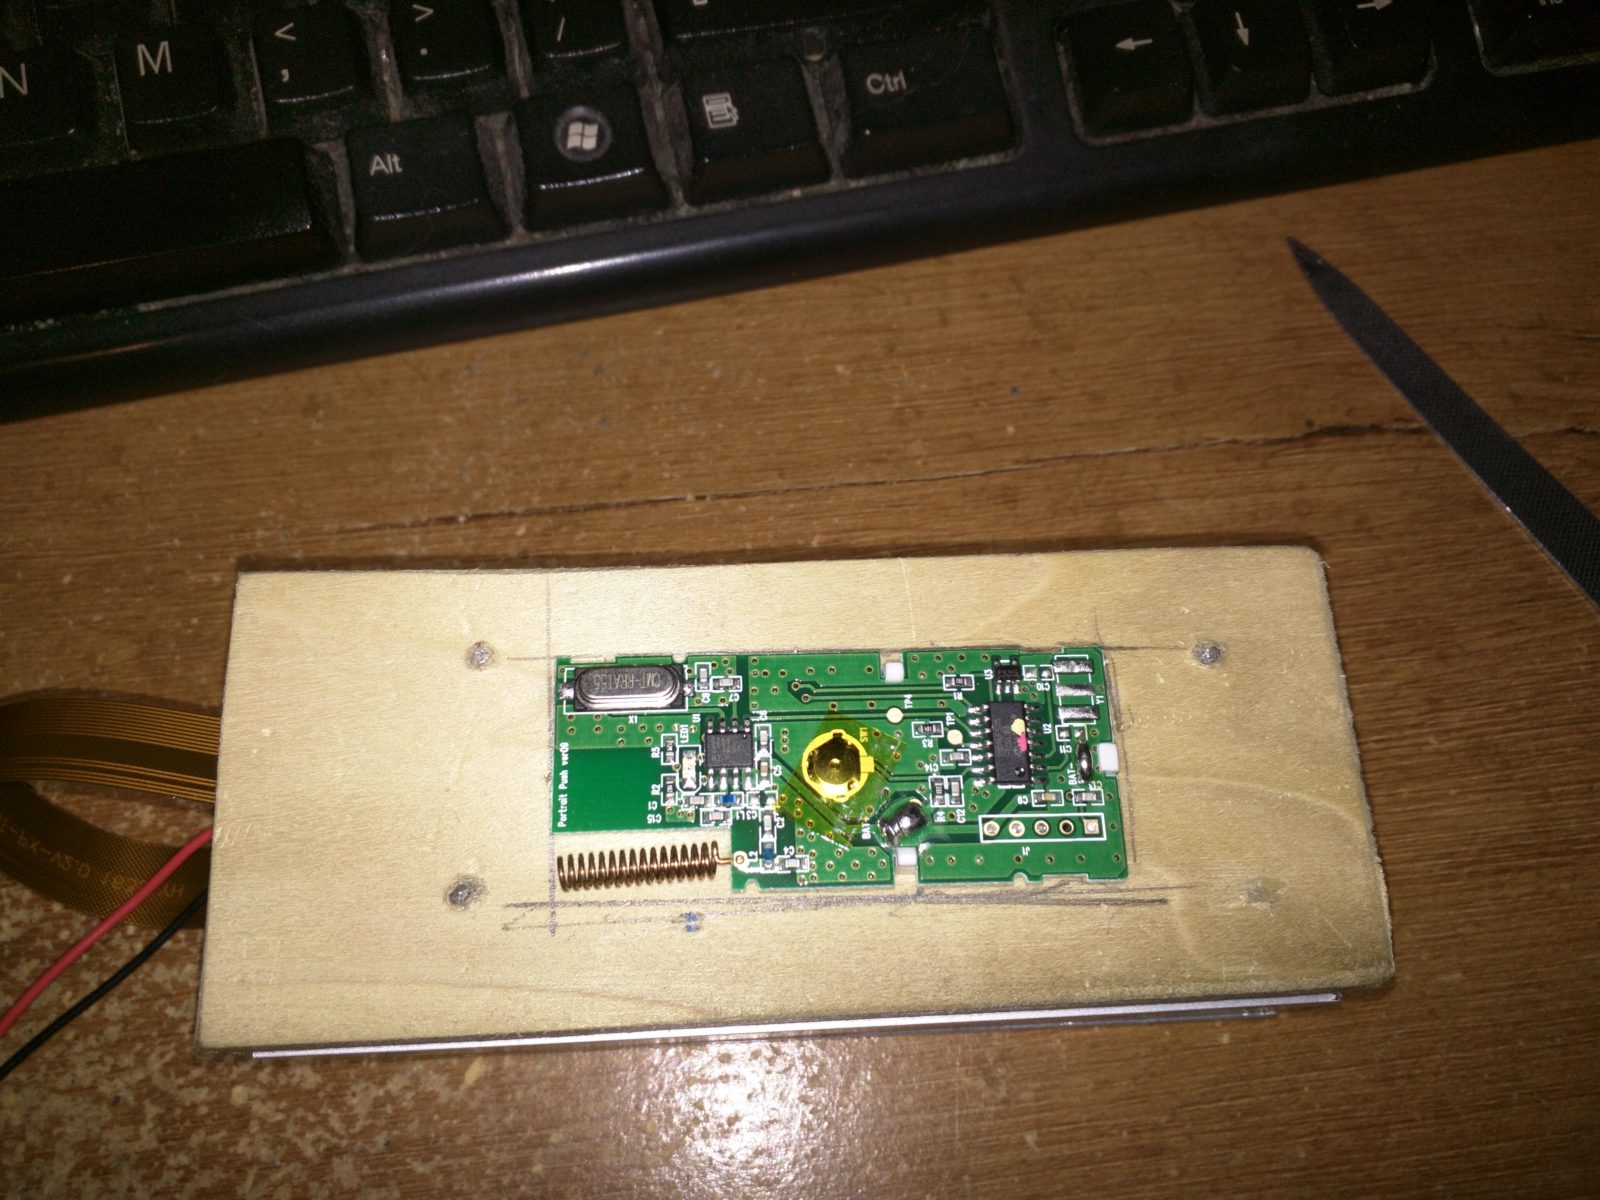
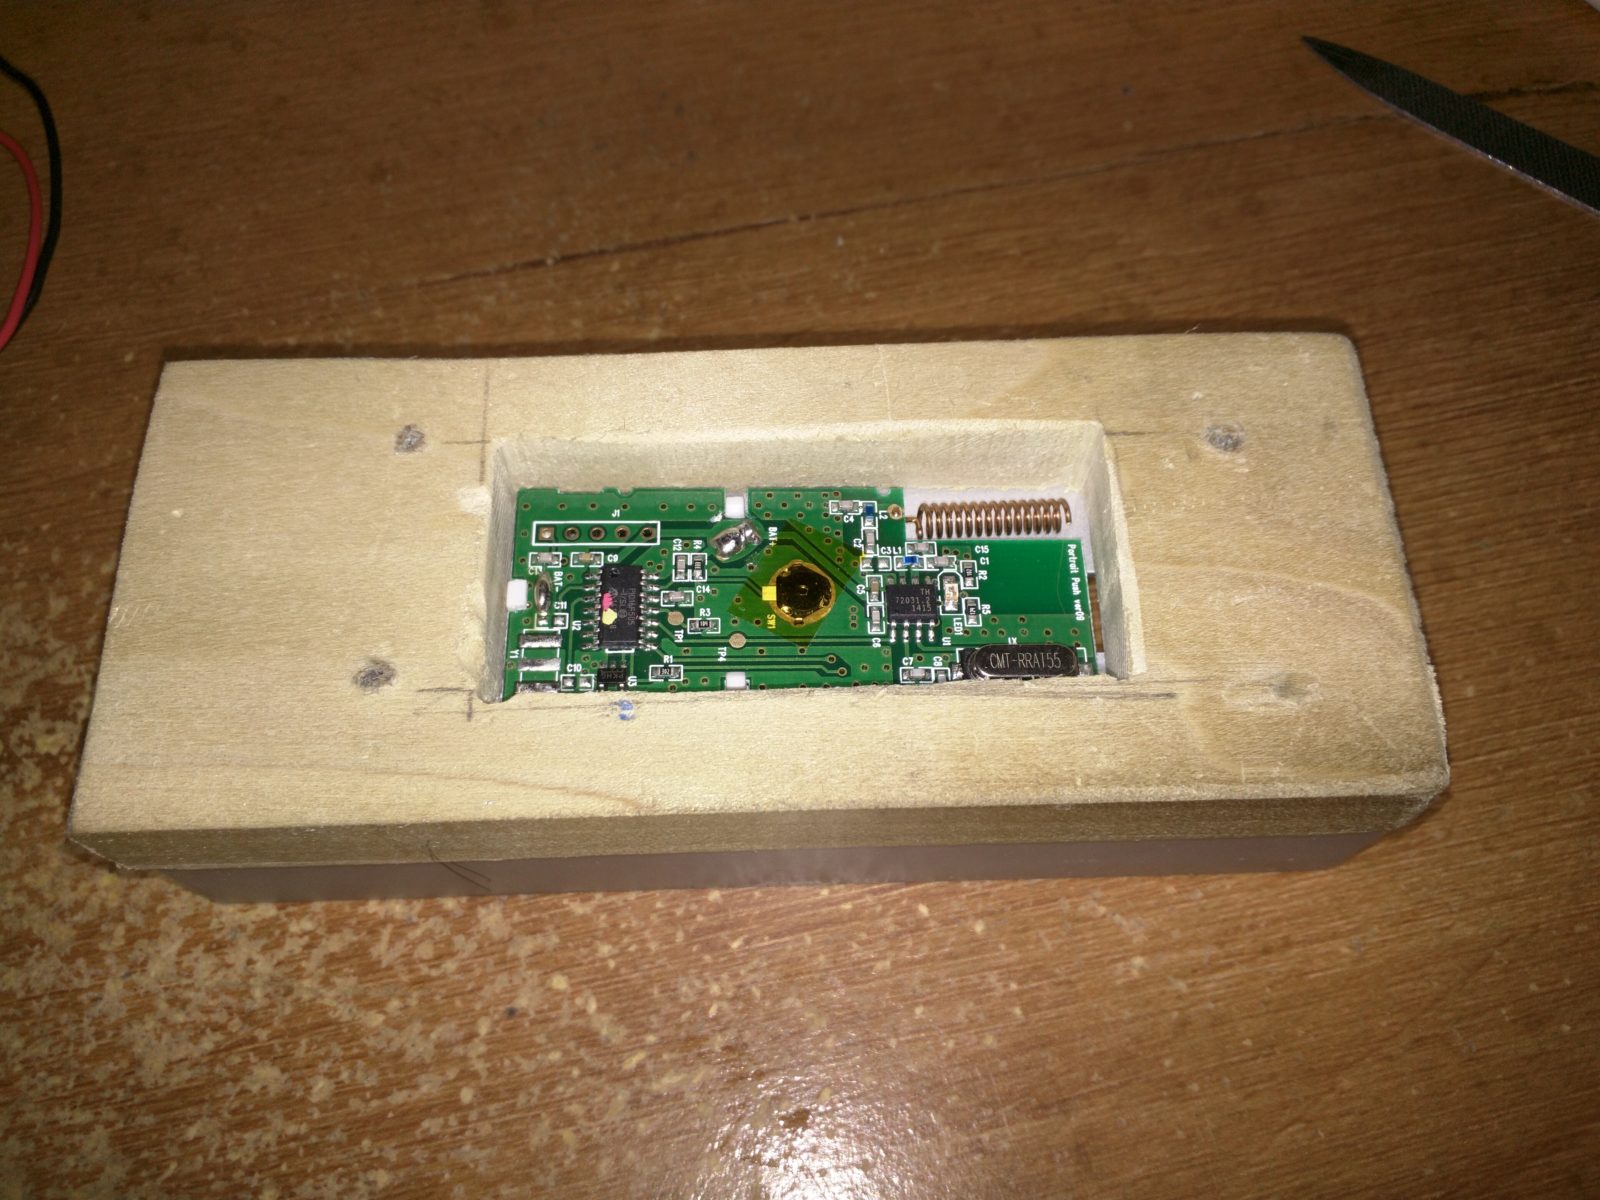
When I first <a href=”https://www.softwaresamurai.org/2017/10/10/raspberry-pi-video-doorbell/”>looked into adding a Video Doorbell</a> I was surprised by the lack of available choices ( thus far )
Our doorbell had to be slender which meant less than 2″ ( 50mm ) and could be 4.8″ tall ( 123mm ). None of the ones I saw met this criteria. I also required a little 5mm shim to handle the uneven surface.
Anyways long story short I decided to do a custom build of the chassis for the Doorbell.
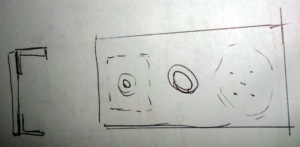
Creating the Custom Video Doorbell:
To convert this image into a physical reality I had to use some tools and then see if all eventually fits in. To screw the top and the bottom together will be the very last step before painting, after I have places, screwed, soldered and glued all the pieces into their final place. This will allow me to adjust the height if needs be.
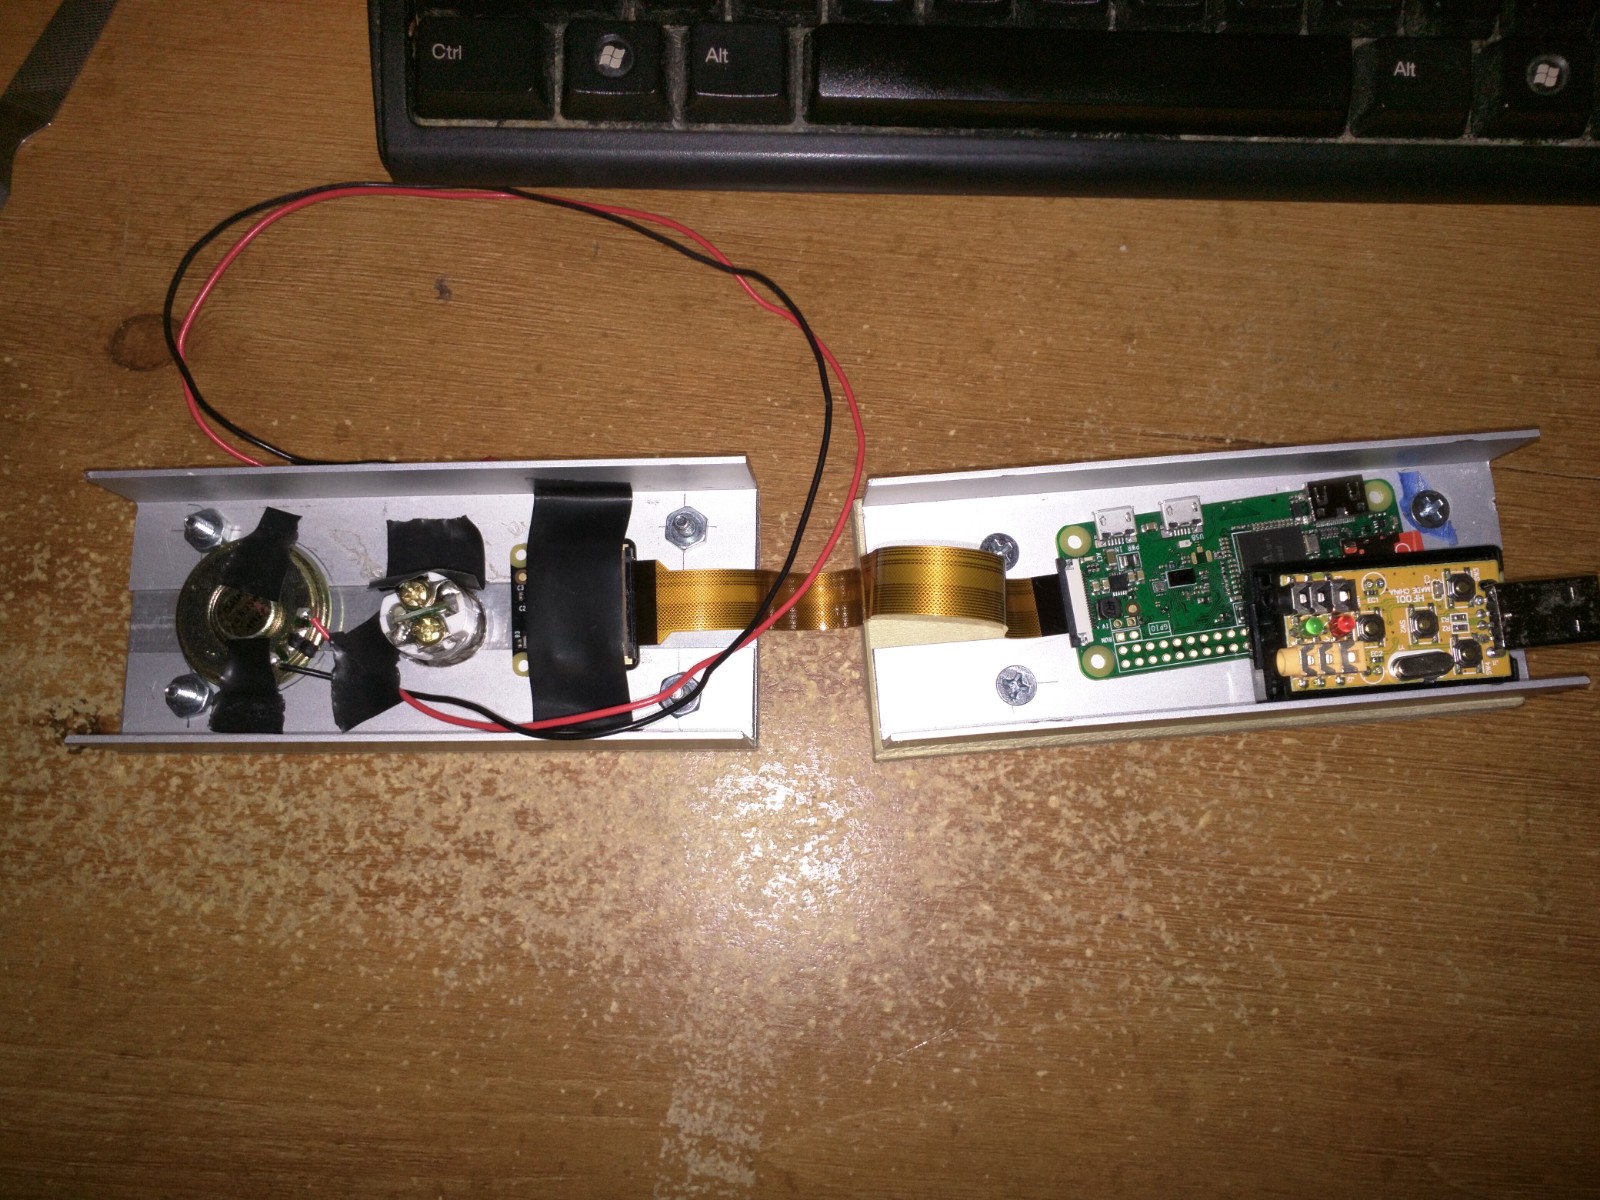
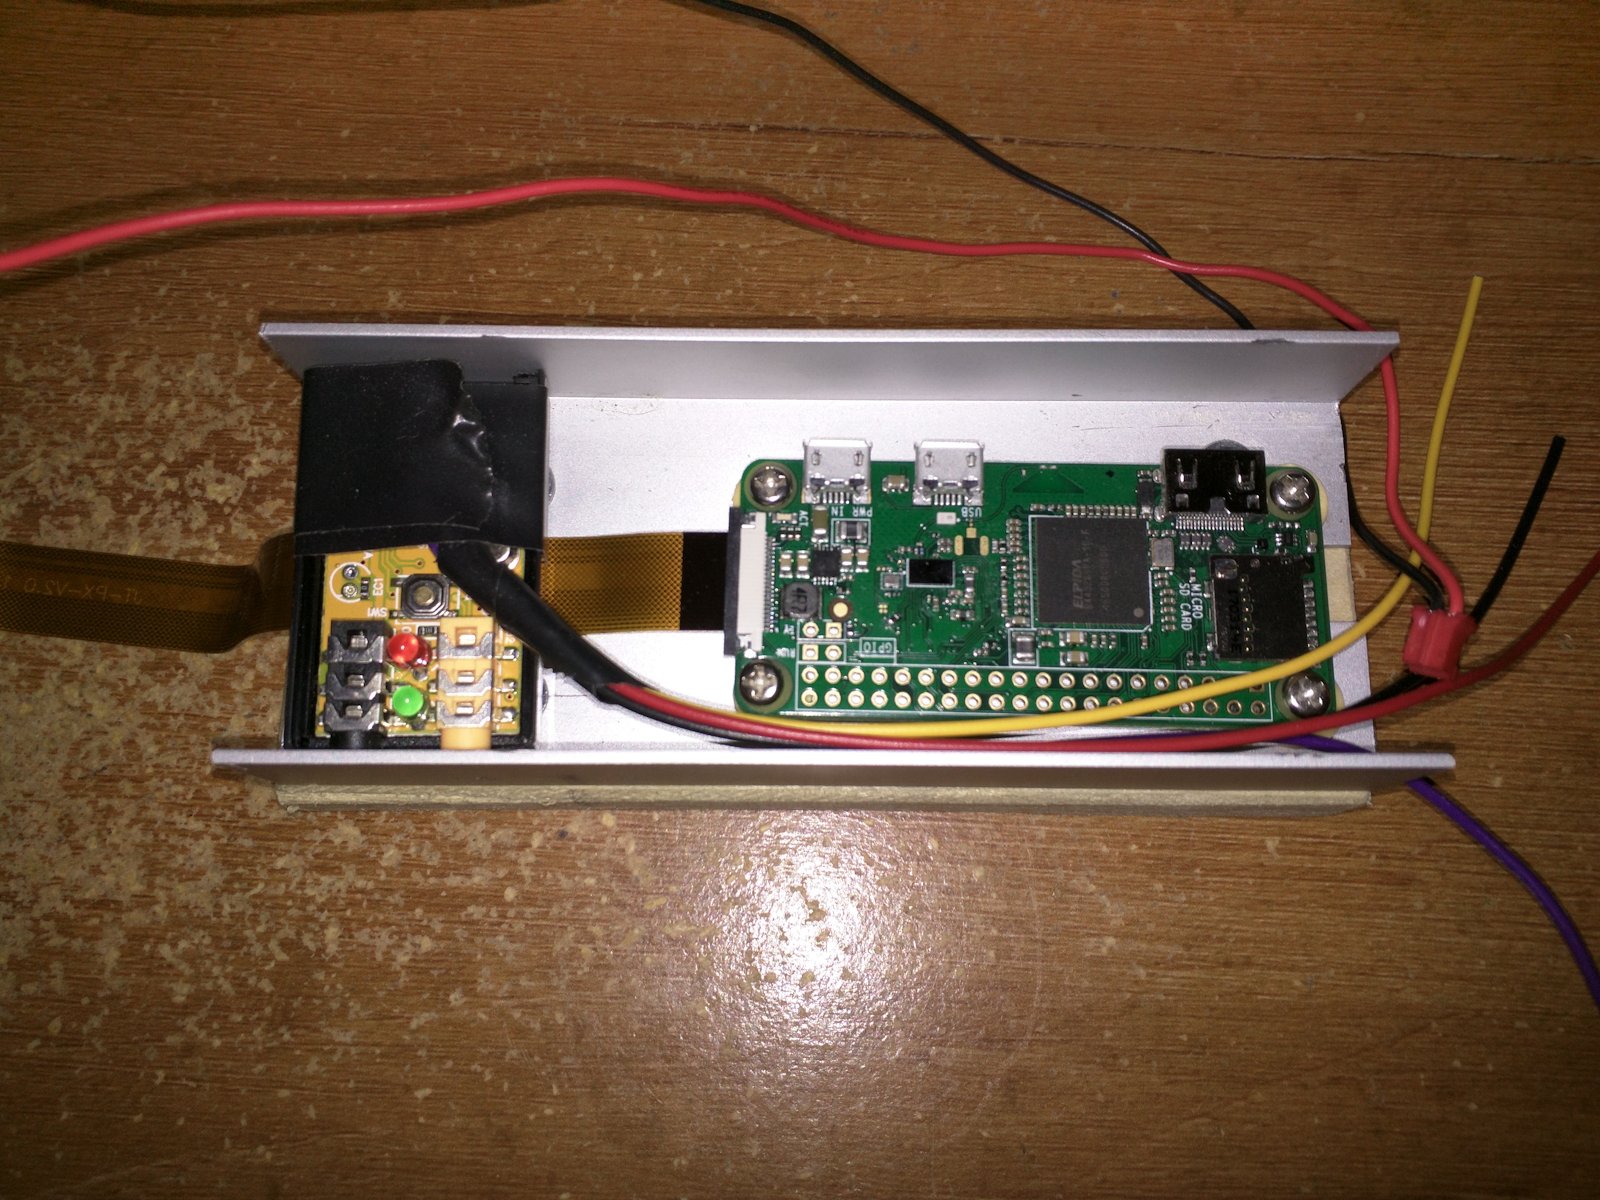
From the pictures below you can see that it is a tight fit with all the pieces in place. Unfortunately I can’t use the USB plugs. If I would connect them, then the PI Zero would no longer fit inside the box.
Since the PI Zero exposes the usb contacts on the bottom and I have to remove the USB plug from the soundcard anyways.
Power
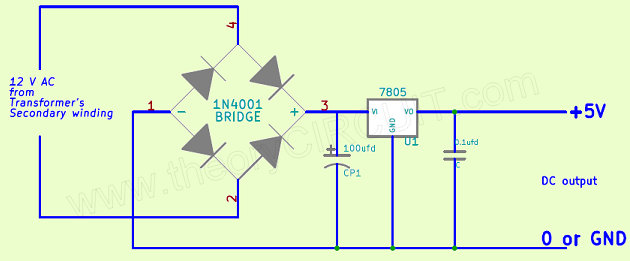
As power source we do have 24V AC coming out of the doorframe, which require a small power converter. Using the standard 7805 regulator brings this down to a few small pieces. Alternatively I can find the source fo the wiring and feed it directly with 5V DC to the door.
Things are starting to come together. I still have to connect the loudspeaker, the microphone, and make sure that the original doorbell button gets some protection before connecting it up and closing the case.

